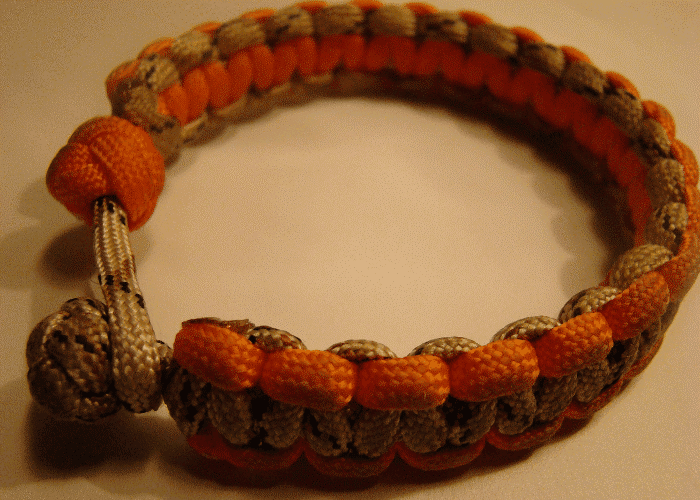
Paracord is the best ribbon, and you can use it for many purposes, and the great thing about it is that it is durable, super tough, and lightweight. You can use it to make an excellent dog leash because it is washable and virtually indestructible. Therefore, the question comes to your mind: how to make a round paracord dog leash, so you get the detailed step-by-step guide to make a dog leash.
All the steps mentioned below allow you to make a dog leash easily without any hesitation and make your procedure simple.
How to Make a Round Paracord Dog Leash?
We will turn all the procedure into the step-by-step guide for your easiness so without delay, let’s take a closer look at all of these steps.
- Tools you Need to Make Dog Leash
Tools are essential if you want to make a dog leash quickly and adequately, so you get the tools to make a round paracord dog leash ideally.
- 2 Hemostat Clamps
- 2 Separate Paracord Strands
- 5 Feet Leash with 5-Inch Allowance for Handling
- C-clamp
- Scissors
- Flexible Measuring Tape
- Small Woodburning Tool
- Appropriate Size Snap
Above are some essential tools that you need to make a dog leash, so if you are thinking about finding a small woodboring tool, you get it in any crafting store. Before making a dog leash, make sure that you will preshrink it because the paracord will shrink when it gets wet.
- Arrange Paracord Stand Properly
If you want to build a dog leash without any distraction, use 4 different colored cords that makes your work simple. You can use the C-clamp to clamp the snap to a tabletop, so it will make your work steady and fast. On the other hand, you can also use a scrap of paracord, table leg, stair railing, or anything else to tie the snap, and it will make your wok stable. Now arrange or lay down the two pieces of paracord side by side over the ring of snap.
- Interlacing the Leashes
To make the beautiful dog leash, you need to interlacing it properly, and first of all, you need to grasp the cord on both hands. Place the leashes with good light tension on all the stands and braiding it properly. You need to cross the pink leash on the TAN & the other black leash goes to the outside left, and the brown leash goes to the outer right.
After this, you have to simply take a black leash & cross it behind the TAN and then cross it over pink. In the third and last braiding step, you need to cross the brown leash behind the braid and cross it over the black. Then cross the TAN leash behind the braid and cross over the brown. Finally, you can follow these steps repeatedly and repeat this process until you have 65″ of cord.
- Use Hemostat Clamp and Clamping it Off
When you finish your braiding, you need to clamp it off the end by using the hemostat clamps to stabilize it. When you are clamping it off, don’t clamp off the brown leash or anyone because it will be used in the next step.
- Make Handle Loop
At the braid end, you need to measure the 5-inch brown leash and fold it to make a cord cover. Examine the braid, cross the leash strand, cross the braid, and clamp it off by using the hemostat clamp. Now you need to remove the hemostat clamp that secures the end of the braid. Locate the pink leash and cross it through the braid and near to the brown leash.
Here grips the pink leash, clamp the hemostat and finally pull the pink all way through. Now you need to locate the TAN strand that passes through the braid and repeat the above steps. Like the TAN process, locate the black leash that crosses through the braid, repeat the above step, and cross it through the braid.
- Finish Black Interlacing Process
You need to make the handle in the finishing step, and you need to do further back braiding to make it stabilized. Here you need to repeat all the steps three to four times mentioned above, and finally, you get the sturdy and durable round dog leash. When you repeat all the steps, you need to trim the loose ends of the paracord using a scissor properly.
After the trip the loose ends of the leashes, you can use the woodburning tool of soldering iron to melt the paracord ends. It will make the good-looking round paracord dog leash when you heat the leashes using the soldering iron or woodboring tools.
- Properly Close Up the Melted Cords
When you melt the loose leash cords, it is imperative to close it to make it look beautiful and stunning. You need to practice it again and again and you don’t feel frustrated because most of the time, you don’t get it on the first try.
- Get your Finished Leash
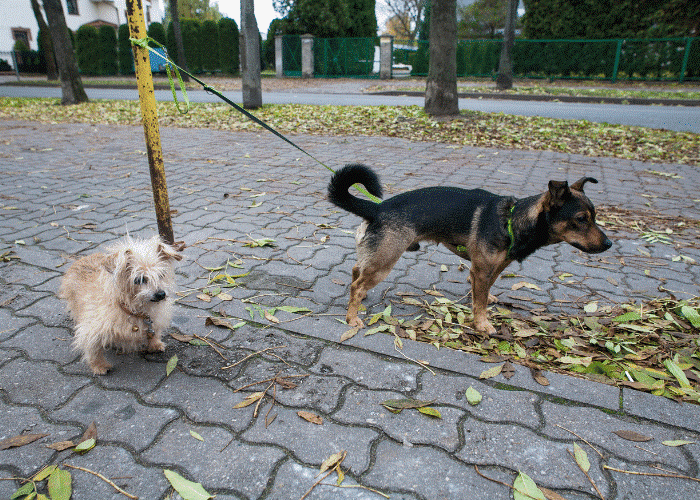
After following all the steps mentioned above, you get an excellent and beautiful paracord dog leash. Now you can use this paracord leash to walk with your dog full of control. The great thing about these leashes is that you can wash it easily if it gets dirty.
Conclusion
Hope that you are familiar with how to make a round paracord dog leash to use to go for a walk with your dog, and it provides full control. Above, you get the step-by-step guide that makes your work easier to understand the building process. The benefits of making the paracord leash at home are that it will save you lots of money and enjoy while building it. Also, the different colors that you can use to making the paracord leash make it beautiful and stunning.
In the end, we hope that this guide proves to be helpful and informative for you, and you can quickly come to a conclusion about how to make a dog leash.
-
 Dog Leash
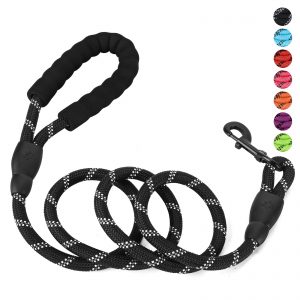
Petmegoo 5ft 1/3 Light weight soft padded dog leash for Small Dogs
$18.98Rated 4.60 out of 5 based on 20 customer ratings(20 customer reviews) -
 Dog Leash
Petmegoo 5ft 1/2 Light weight soft padded dog leash for Medium and Large Dogs
$18.98Rated 4.60 out of 5 based on 10 customer ratings(10 customer reviews) -
 Dog Leash
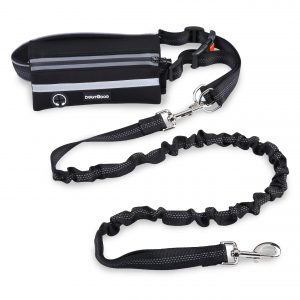
Petmegoo Bungee Leash
-